January 31, 2011

Reader Recipe of the Week: Rosemary Lamb Sliders with Arugula and Garlic-Dijon Aioli


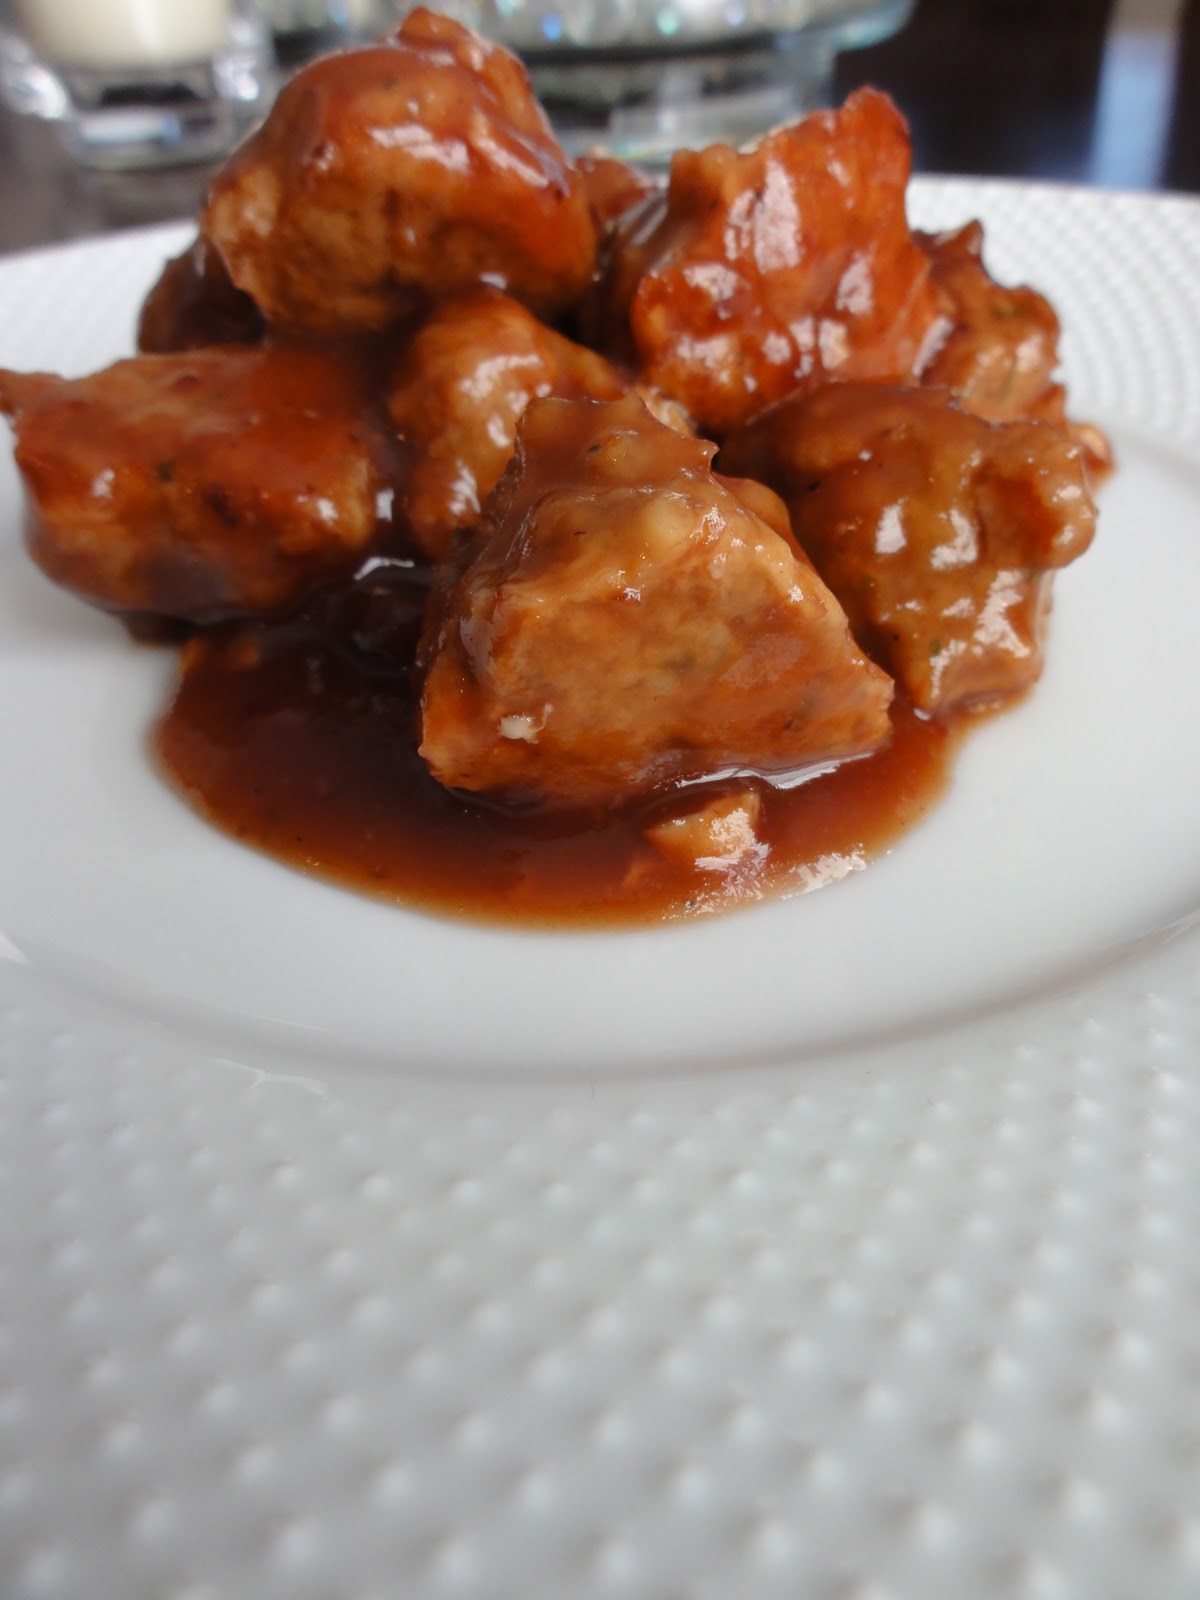
Thank you to Jessie and Justin for introducing me to these little bites of heaven. I first had these at our engagement party earlier this year. It was love ever since. For weeks Gary was talking about them. To lazy to make them again, we invited ourselves over (kinda!) to Jessie and Justin's last weekend and sure enough - they were on the menu!!

Hope you enjoy these as much as we do!

Rosemary Lamb Sliders with Arugula and Garlic-Dijon Aioli
(serves 6-8)

Ingredients:
Burgers
3/4 lb ground lamb
3/4 lb ground chuck
3/4 teaspoon black pepper
2 tablespoons dijon mustard
2 teaspoons minced fresh rosemary
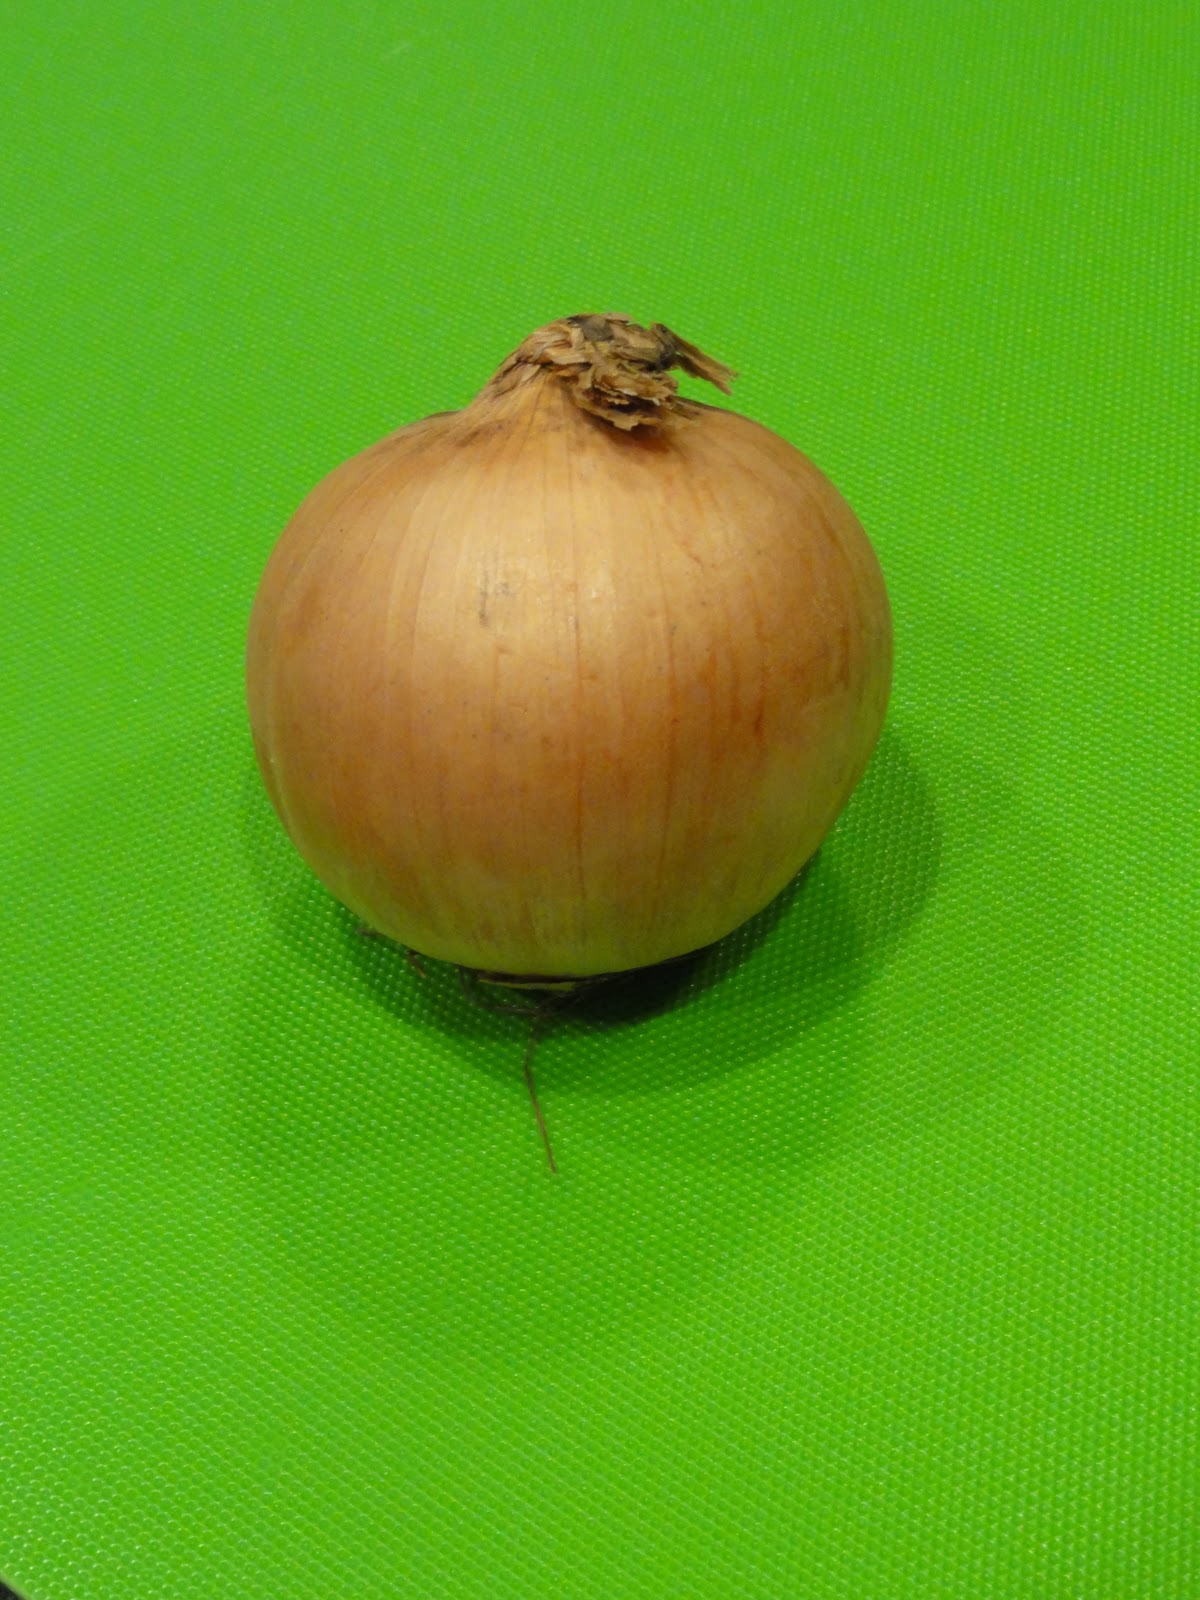
3 tablespoons minced red onion
2 teaspoons minced fresh garlic
1 tablespoon balsamic vinegar
1 1/2 teaspoon salt
Garlic Dijon Aioli
3/4 cup mayo
1 1/2 tablespoons whole grain mustard
1 tablespoon minced fresh garlic
Accompaniments
mini buns
sliced red onions
arugula

Directions:
1. In a small bowl, make aioli and set aside.
2. In large bowl, mix all burger ingredients. Divide into 24 portions - about 1 tablespoon each. Form into 2 inch diameter patties.
3. Heat large, non-stick skillet over med-high heat. Cook about 2 minutes per side.

If serving at a party, place cooked patties on a large platter, with accompaniments on the side. This will prevent the buns from getting soggy!

January 30, 2011

Game Day Meatballs with Cranberry BBQ Sauce

Big game this weekend!! So besides routing for the Packers or the Steelers - surprise your guests (or yourself!) with these simple, yet super tasty morsels. I made the meatballs from scratch, but frozen meatballs work just great too! Try Trader Joe's turkey meatballs if you are watching your waistline....

Game Day Meatballs with Cranberry BBQ Sauce
(serves 5-6)

Ingredients:
1 package frozen meatballs
1 bottle Sweet Baby Ray's Original BBQ Sauce
1 can jellied cranberry sauce
3 heaping tablespoons apricot/peach marmalade

Directions:
1. Place meatballs in large crock pot.
2. In a large mixing bowl, combine remaining ingredients. Pour over meatballs.
3. Cook on low for 6 hours. If you are in a rush, you can cook on high for 4 hours.

Serve with toothpicks for easy-grabbing, and enjoy!

...Stay tuned all week for other great snack ideas for the Super Bowl!

January 26, 2011

"Hilltop Salad" with Panko Crusted Chicken


"Hilltop Salad" with Panko Crusted Chicken
(serves 1)

Ingredients:
1 breast of chicken
Dijon mustard
1/4 cup panko bread crumbs
1 teaspoon dried parsley
salt
pepper
1 cup romaine lettuce, chopped
2 tablespoons dried cranberries
blue cheese, crumbled
1 tablespoon walnuts, chopped

Directions:
1. Preheat oven to 350 degrees.
2. Trim chicken of all fat. Rinse, and pat dry.
3. In a small, shallow bowl, mix panko bread crumbs, parsley, salt, and pepper. Brush outside of chicken with dijon mustard. Coat both sides with bread crumb mixture. Place on baking sheet and cook for 15 minutes.
4. Meanwhile, mix romaine lettuce, cranberries, blue cheese, and walnuts. Set aside.
5. Remove chicken from oven once thoroughly cooked. Slice, and place on top of lettuce mixture.
6. Top with your favorite dressing and enjoy!

January 24, 2011

Pan Roasted Pork Tenderloin with Honey Dijon Vinaigrette


Saturday night, I decided that enough is enough and it was time to finally make the "New Years Day Pork Roast" that we never got around to making due to travel. So, Happy New Year (...22 days late)!!!

It has become a tradition in our house to make some sort of pork roast every January 1st. My family used to do it, so I figured that we would do it too! I usually make it with sauerkraut and apples, but thought I would change things up a bit this time. I didn't have any sauerkraut, so I made mustard greens as a side along with mashed potatoes. Who  knew mustard greens were also a new years tradition! A little history behind why:

Pork    
The custom of eating pork on New Year's is based on the idea that pigs symbolize progress. The animal pushes forward, rooting itself in the ground before moving. Roast suckling pig is served for New Year's in Cuba, Spain, Portugal, Hungary, and Austria—Austrians are also known to decorate the table with miniature pigs made of marzipan. Different pork dishes such as pig's feet are enjoyed in Sweden while Germans feast on roast pork and sausages. Pork is also consumed in Italy and the United States, where thanks to its rich fat content, it signifies wealth and prosperity.

Greens
Cooked greens, including cabbage, collards, kale, and chard, are consumed at New Year's in different countries for a simple reason — their green leaves look like folded money, and are thus symbolic of economic fortune. The Danish eat stewed kale sprinkled with sugar and cinnamon, the Germans consume sauerkraut (cabbage) while in the southern United States, collards are the green of choice. It's widely believed that the more greens one eats the larger one's fortune next year.

As you may or may not know, I am obsessed with using dijon mustard in ALMOST everything, so I came up with this recipe!! Since there were absolutely ZERO left overs, I think it was a hit!
Pan Roasted Pork Tenderloin with Honey Dijon Vinaigrette
(serves 4)

Ingredients:
1 2-3 pound boneless pork roast
2 tablespoons butter
parsley
garlic salt
ground black pepper
1 cup chicken broth
1/2 cup apple cider vinegar
3 tablespoons whole grain mustard
1 1/2 tablespoons honey

Directions:
1. Preheat oven to 500 degrees.
2. In a dutch oven, melt butter over medium heat, being careful not to burn.
3. Season pork roast on all sides with garlic salt, parsley, and ground pepper. Place in dutch oven, and brown all sides of meat, about 2 minutes each side.
4. Turn off heat. Pour chicken broth around the pork roast, to release the browned bits from the bottom of the pan. This will also serve as a source of steam when baking the roast.
5. Place roast in oven, covered. Reduce heat to 250 degrees, and bake for 1.5 hours.
6. Meanwhile, whisk apple cider vinegar, mustard, and honey together to make the vinaigrette. Set aside.
6. Remove from oven, transfer to serving platter, cover in foil and let sit for 10 minutes to allow juices to redistribute.
7. Slice, and serve with honey dijon vinaigrette.

*the juices from the pan also make for a great gravy. We used it on mashed potatoes!

Mama Gorman's "Love-At-First-Bite" Chili


Bottom Line: My coworker's Mom is one of the best cooks I have EVER met. She takes it upon herself to drop off scrumptious treats every week ranging from banana bread, to quiche, to a variety of homemade soups. Last week, I had the pleasure of tasting her Chili for the first time at it was A-MAZING! This one will definitely be swooping in to steal first place in my book!

Mama Gorman's "Love-At-First-Bite" Chili
(serves an army)

Disclaimer: Generally chili is best if made the day before, allowing all flavors to blend.

Ingredients:
¼ cup olive oil
3 yellow onions, coarsely chopped
1 lb. Italian sausage (casing removed)
4 lbs. ground chuck
¾ tablespoon ground black pepper
1-1/2 tablespoons minced garlic
3 tablespoons ground cumin
4 tablespoons chili powder
¼ cup Dijon mustard
2 tablespoons salt
2 tablespoons dried basil
2 tablespoons dried oregano
3 lbs. canned Italian plum tomatoes (drained)
1 - 12 ounce can tomato paste
¼ cup burgundy wine
2 tablespoons fresh lemon juice (juice of 1 lemon)
¼ cup chopped fresh dill
¼ cup chopped fresh Italian (flat leaf) parsley
1 -2 cans of the beans of your choice (drained)

Directions:
1. Heat olive oil in a large, heavy pot.  Add the onions and cook over low heat until tender - about 10 minutes.
2. In a separate frying pan, crumble the sausage meat and ground chuck and cook over medium high heat, stirring often, until the meats are well browned.  (Best done in batches)  Drain well and add to pot with onions.
3. Add all dry ingredients and blend well into meat and onions.  Add liquid ingredients and allow everything to simmer for at least one hour, adding beans in the last quarter hour. 
4. Taste to correct seasonings and serve with your favorite accompaniments.

Note:  If you like a spicier/hotter chili, you can add jalapenos or habaneras to your taste or you can dice them and use as an accompaniment.

January 21, 2011

Zuppa di Pomodoro

So, the temperature in Chicago was -18 degrees today (OK, I factored in wind chill, but still!!!). You know the drill for temperatures like that. Soup is on the menu AGAIN!

This one was adapted from a Trader Joe's taste sample they have in the back of the store and I just had to share. Partly because of its simplicity, but mainly because of the taste! Enjoy!

Zuppa di Pomodoro
(serves 4)

Ingredients:
1 box organic roasted red pepper and tomato soup
1 28 ounce can plum tomatoes (reduced sodium if possible), chopped
1/2 cup orzo, cooked
1 cup spinach
grated Parmesan cheese (optional)

Directions:
1. Pour box of roasted red pepper & tomato soup into medium sauce pan. Add plum tomatoes. Simmer on low heat.
2. Meanwhile, cook orzo according to package directions. Add to soup.
3. Add spinach, and cook for 10 minutes on medium-low.
4. Dish into individual bowls, garnish with Parmesan cheese, and serve!

Happy Friday!

January 20, 2011

Tuscan White Bean Soup with Apple Chicken Sausage

Anyone else dealing with below zero temperatures besides Chicago??? The only thing that sounds good for dinner after a brisk walk home from the train where the arctic wind blast that got Chicago nicknamed "the windy city" is creating a steady stream of tears that are instantaneously turning into icicles, is soup. Nice. Hot. Soup.

The typical conversation that goes down when soup is on the menu for dinner:

          G: What's for dinner?
           J: Soup.
          G: And?
           J: That's it. Just soup.
          G: Really? You sure you don't want to make anything else to go along with it?
           J: Like what??
          G: Ohh, I don't know. Grilled Cheese. Cheeseburgers. SOMETHING!!

That explains the sausage addition to this dish.

Tuscan White Bean Soup
(serves 4)

Ingredients:
1 large onion, diced 
3 cloves garlic, minced
2 tablespoons olive oil
3 14.5 ounce cans reduced sodium chicken broth
3 large carrots, diced
2 bay leaves
2 cans cannellini beans
2 slices prosciutto, chopped
1 cup baby spinach
grated Parmesan cheese (optional)
1 package Apple Chicken Sausage (Trader Joes)

Directions:
1. In a large sauce pan, heat oil. Saute garlic and onion until tender, about 5 minutes.
2. Reduce heat to medium-low. Add chicken broth, bay leaves, and carrots. Cook for 20 minutes, or until carrots are tender.
3. Meanwhile, mash one and a half cans of cannellini beans in a medium bowl. You can also do this in a blender or food processor.
4. Add mashed bean mixture, remaining half can of whole beans, prosciutto, and spinach to broth mixture. Let cook for 10 minutes.
5. Brown apple chicken sausage in a skillet until browned on all sides.

Dish soup into individual bowls, garnish with grated Parmesan cheese, and serve!

January 19, 2011

Off the Chopping Block: Mid-week Hints & Tips


Helpful Hints and Tricks for the Kitchen:

Peeling Garlic: Press on the top of the garlic clove with the flat part of your knife. When you hear the "pop", the skin should now peel effortlessly back. Another trick is to microwave for 10 seconds before peeling.


Storing ginger root: Any unused portion of fresh ginger root can be stored in a ziplock bag in the freezer. When a recipe calls for it, just remove from the freezer, and grate! Simple as that!


Measuring sticky substances: Ever have trouble getting peanut butter/molasses/honey out of a measuring cup? Dip your measuring utensil in canola oil or spray with non-stick cooking spray before using!


Jucier Lemons: Microwave for 15 seconds to produce more juice for squeezing.


Frozen Graps: In the summer, I like to use frozen grapes in my white wine to keep things nice and cold. Plus, it looks cooler than ice cubes and wont water your wine down!!


Do you have any good tips worth sharing? Something that could make life in the kitchen a little bit easier?

January 18, 2011

Italian Grilled Cheese with Prosciutto and Spinach

 Let's be honest. Grilled cheese is delicious. Add Prosciutto?? Even BETTER!! I have been on a serious "quick and healthy" dinner kick - so sandwiches and soups have found there way back onto my weekly menus. Gary is a huge fan of all things Italian, especially meats, so when I stumbled upon prosciutto at Trader Joe's this weekend, I scooped it up! Surprisingly, it is rather affordable. They also carry a great, low fat cheddar cheese made by Cabot which melts just like the real thing! Win-win in my book....

All ingredients below were purchased at Trader Joe's. It is so nice to be able to have to only stop at one supermarket on the weekend, and still come up with creations like this! If you don't have sun dried tomato oil, olive oil will work great too.


Italian Grilled Cheese with Prosciutto and Spinach

Ingredients:
1 loaf Sesame Semolina Bread
1 package prosciutto
1 package baby spinach
1 block of Cabot 75% reduced fat sharp cheddar cheese, sliced thin
Oil from packed sun-dried tomatoes

Directions:
1. Slice bread. Brush outsides with sun-dried tomato oil.
2. In a large skillet over medium heat, put one slice of bread, oil side down. On top, place 3 slices prosciutto, spinach, and cheddar cheese. Place another slice of bread, oil side up, on top.
3. Grill for about 7 minutes on each side, or until golden brown and the cheese is melted.

Enjoy!

January 17, 2011

"Porcupines"


Porcupines?!?!? You have got to trust me on this one. I was first introduced to these when I was about 7. Due to both of my parents work schedules, days off of school due to snow days/teacher in-service when we were younger were spent at a sitter's house. Go figure, lunch time was my favorite part of the day, and I could always be found in the kitchen (on a step stool) helping with whatever I could get my hands on. Lunches ranged from the standard PB&J to home-made chicken noodle soup, complete with made-from-scratch noodles! One of my favorites though? Porcupines.

Maybe it was the fact that they sounded so cool. Or the fact that we NEVER had anything called "Porcupines" at home. And so began a love affair with a simple, yet tasty meal. This is also a great meal to have your children prepare! Let them be in charge of the stirring.

For a complete meal, serve with peas or green beans.

Porcupines
(serves 2-3)

Ingredients:
1 package ground turkey
1 small onion, diced
1/2 cup brown rice, uncooked
1 cup chopped spinach (I used fresh - frozen can be used as well - just be sure to drain)
salt and pepper to taste
2 cans condensed tomato soup, diluted with 1 can of water

Directions:
1. Preheat oven to 350 degrees. Coat casserole dish with non-stick cooking spray.
2. In a large bowl, mix together ground turkey, onion, rice, and chopped spinach. Season with salt and pepper to taste. Mix well, and form into "porcupines". These should resemble medium sized meatballs. Place in casserole dish.
3. In a separate bowl, mix both cans of tomato soup with 1 can of water. Pour over "porcupines", and cover with lid (or foil).
4. Bake for 1.5 hours. Let cool for minutes, then serve. Reserve the sauce, and use as gravy.

*Best way to eat these, in my opinion, is to break the porcupines into bite size pieces, and then smother in gravy. Enjoy!


January 13, 2011

Italian Sausage and Peppers with Parmesan Polenta

Living with a growing, Italian boy, I am always trying to come up with satisfying dishes beyond the traditional pasta/meat with red sauce, chicken parmigiana, etc. Don't get me wrong. All those things are amazing, but if we ate them every day, we certainly would be tipping the scales!! Let's not forget - it's Wedding year, so healthy is the new craze at our house.

Gary is usually in charge of cooking when it comes to the Italian meals in the family. Howerver, I thought I would give it a shot this time, adding polenta to the dish to make it MY version of sausage and peppers. It was a huge success!! The peppers and onions along with the juice from the sausage make for wonderful flavors all around when paired with the polenta.

This recipe is easy for any day of the week, and is sure to please even your pickiest eater!

Italian Sausage and Peppers with Parmesan Polenta
(serves 4)

Ingredients:
6 Hot Italian sausage links (turkey Italian sausage works great too!)
4 cloves garlic, minced
2 green bell peppers, sliced thin
1 large onion, sliced thin
1 tablespoon olive oil
1 cup instant polenta
1/4 cup Parmesan cheese, grated
fresh thyme (optional)

Directions:
1. Heat oil in large skillet over medium heat. Add garlic, green peppers, and onion. Saute until slightly browned. Add 1/4 cup water, turn down to low, cover, and let simmer.
2. Meanwhile, on a Foreman grill or in a separate pan, cook sausages until no longer pink. Remove from heat, and cut into slices.
3. Add sliced sausage and thyme to the pepper and onion mixture, mix well, season with salt and pepper.
4. In a separate sauce pan, cook polenta according to package directions. For a creamier polenta, use a little more water than the package calls for.
5. Once polenta is done, add Parmesan cheese and mix well.
6. Spread with spatula onto a plate. Sprinkle with more Parmesan. Place heaping spoonfuls of sausage and peppers onto polenta, and drizzle with juices.

January 12, 2011

Off the Chopping Block: Mid-week Hints & Tips

In my opinion, every good cook has a well stocked pantry. I am not referring to quantity here, rather quality. In the past couple years, I have noticed that there are 8-10 ingredients that come up VERY frequently in a lot of my recipes. So, in order to make sure that my pantry is always ready to whip up creations at the drop of a hat WITHOUT having to make a run to the supermarket, I have come up with a top 10 list of must-have staples to have on hand at all times. I keep them in a plastic storage bin (lid optional) on a shelf in the pantry so that they are always together and I am not rifling through all my canned goods on the verge of a panic attack thinking, "How on earth did I run out of THIS!".

Which 10 ingredients do you find yourself using most often?

My Top 10 Pantry Staples
(in no particular order)

1. Dijon Mustard
-used in meatloaf, turkey burgers, etc to add moisture and subtle hints of flavor
-used as a base in salad dressings instead of oil
-used on grilled paninis and sandwiches
-mix with honey for a dipping sauce for chicken, fish, shrimp, and veggies

2. Bread/Panko Crumbs
-used to coat chicken/pork chops for baking
-used in meat mixtures as a binding ingredient

3. Worcestershire Sauce
-used in marinades
-used to flavor burgers

4. Yellow Onions
-used in stirfrys
-used to flavor burgers, pastas, etc.

5. Instant Barley/Couscous/Quinoa
-used as base for an instant side dish

6. Chicken Bouillon
-used for instant chicken broth
-used in water to steam vegetables for added flavor

7. Apple Cider Vinegar
-used in salad dressings
-used in soups/stews
-used in meat/chicken dishes

8. Sun-dried Tomatoes (oil packed)
-great for instant antipasto
-used in chicken/pasta dishes

9. Diced Tomatoes
-used in soups
-used in pasta
-used in many Italian meat dishes

10. Marmalade (Apricot/Peach/Orange)
-used in dipping sauces/salad dressings
-serve with cheese
-used for barbecues

January 11, 2011

Fiesta Cornbread

Not to long ago, I started getting really bored with traditional cornbread. Every time I made it,  I would think about what I could add to it to make it more flavorful, without adding hundreds of extra calories. The corn kernels give a nice texture, while the jalapenos add just the right amount of heat. For even more flavor, add bacon bits and chives!

Fiesta Cornbread

Ingredients:
1 box Cornbread mix (I use Krustez Honey Cornbread mix. If using jiffy, use 2 boxes)
1 can of corn, drained
1/2 cup pickled jalapeno peppers, chopped

Directions:
1. In a large mixing bowl, prepare cornbread following the box instructions.
2. Add corn and jalapeno peppers. Stir well.
3. Bake according to box timetable based on pan size, etc.

Enjoy!

January 10, 2011

Tangy Chicken Wingettes

Fall/Winter Sunday's at our house consist of football, football, and more football with halftime reserved for dog walking (In case you were unaware, 3 labs have a LOT of energy). Another Sunday tradition has become having to frantically rush through our breakfast at one of Chicago's 2,589 brunch spots because SOMEONE (read: Gary) forgot to change his Fantasy team. To try and  make light of the situation, he always lets me know that the sooner we get home, the sooner I can get in the kitchen and "do whatever I do in there". So, needless to say, Sunday's have become devoted to finding and testing new football snacks!

I have been searching for a good recipe for make-at-home chicken wings, and I am so happy that I stumbled upon these!  This recipe comes courtesy of Erin Andrews (yes, THAT Erin Andrews), who was recently featured on PEOPLE Magazine's Celebrity Recipe page. The combination of pineapple juice, brown sugar, and ketchup make for a sweet, yet tangy sauce that is sure to please your hungriest crowd!

Tangy Chicken Wingettes

Ingredients:
2 1/2 pounds chicken wingettes
1/4 cup cider vinegar
1/2 cup dark brown sugar
1/4 cup pineapple juice
1 tablespoon soy sauce
3/4 cup ketchup
1 teaspoon mustard

Directions:
1. Broil wings until browned, about 10 minutes per side.
2. Meanwhile, in a large pot, combine vinegar, brown sugar, pineapple juice, soy sauce, ketchup, and mustard. Bring to a boil and stir until sugar is dissolved.
3. Add wings and simmer, uncovered, until wings are tender, about 10 minutes.
4. Serve with your choice of ranch or blue cheese!

Reader Recipe of the Week: Spinach and Artichoke Dip

Tada! As promised, each week will include a featured recipe submitted by a Spotted Fig reader. This week's recipe comes courtesy of Jessie and Justin D. Thanks guys!

Spinach and Artichoke Dip
(serves 6)

Ingredients:
1 cup mayo (I used fat free)
1 cup Parmesan cheese, shredded
1 can artichoke hearts, drained and chopped
1 pkg frozen spinach, thawed and drained
salt and pepper to taste

Directions:
1. Combine all ingredients in a mixing bowl and transfer to a small baking dish.
2. Broil for 5 minutes, stir, and then broil for another 5 minutes.
3. Stir, and serve with pita/tortilla chips.

January 6, 2011

Go-To Chicken and Artichoke Casserole

Have you ever invited a group of friends over, offering to make dinner, and then completely forgot that you ever made plans in the first place a couple hours before they are supposed to arrive?? I must admit, it doesn't happen often, but when it does, it's nice to be able to pull out a set of recipes that you know are crowd pleasers and that you can whip up in a pinch. This one always does the trick for me! Slightly modified from a Better Homes and Garden recipe, it's healthy, tasty, encompassing of many food groups, and sure to have guests asking for seconds!

Go-To Chicken and Artichoke Casserole
(serves a lot!)

Ingredients:
8 ounces dried farfalle
1 onion, chopped (refer to previous blog for a tip!)
3 egg whites
1 1/4 cups skim milk
2 teaspoons dried Italian seasoning
1/2 teaspoon crushed red pepper
2 cups chopped, cooked chicken (Trader Joe's sells cooked chopped chicken that is PERFECT for this)
1 to 2 cups reduced fat shredded cheese, depending on your liking
1 14 ounce can artichoke hearts, drained and sliced
1 bag frozen chopped spinach, thawed and drained
3/4 cup sun dried tomatoes, drained (if canned) and chopped
1/2 cup grated Parmesan cheese
1/2 cup soft bread crumbs
1 tablespoon paprika
cooking spray (if you want to splurge, 1 tablespoon melted butter)

Directions:
1. Preheat oven to 350 degrees. Spray a 9x13 baking dish with cooking spray.
2. Cook pasta according to package directions. Drain, and run under cold water to stop the cooking process. Set aside.
3. In small skillet coated with cooking spray, saute onion until tender, stirring occasionally. Remove from heat, and set aside.
4. In a large mixing bowl, whisk egg whites, milk, seasoning, salt, pepper, and crushed red pepper. Gently fold in chicken, shredded cheese, artichokes, spinach, sun dried tomatoes, half of the Parmesan, cooked pasta, and onion. Transfer to baking dish.
5. Bake, covered (aluminum foil works too!), 25 minutes. Meanwhile, mix remaining Parmesan, bread crumbs, and paprika. If you are splurging, add butter.
6. Sprinkle mixture over pasta and dust with cooking spray. Bake, uncovered, 10 minutes.
7. Let cool 10-15 minutes, and then serve.

*If you don't already have a stash of recipes to pull out for last minute dinners, make one now, and add this to it! Rubber band, paperclip, or hole punch and 3 ring bind them so they are easy to access.

January 5, 2011

Off the Chopping Block: Mid-week Hints & Tips

You can't possibly think that I cook EVERY night of the week, can you? ;)

One of the first kitchen tricks that my mother taught me was how to chop an onion. Is it the proper technique? That, I don't know. What it is, is efficient, and that is all that matters to me! When I am pressed for time, the LAST thing I want to be doing is spending time cutting an onion! I usually am "crying" before the skin is even half way off...

Below is a step-by-step guide with images. Key to this is a sharp knife! Just be careful as the onion can get pretty slippery once the skin has been removed.

How To Cut an Onion 101


 1. To start, you need an onion!


2. Cut the top off and discard.

3. Peel the onion.

4. Cut uniform slices (at least try!) into the onion,
being careful NOT to go all the way through the
bottom.

5. Turn the onion 90 degrees, and
cut perpendicular slices. Again, be
careful NOT to go all the way through
the bottom.

6. Turn onion on its side, and slice
down, making sure to go ALL the way
through.

 7. Continue until you run out of onion!

....and VOILA!!!

xoxo

j.

*thanks to MK for some inspiration with the post title*


January 4, 2011

Spanish Chicken and Rice


The good thing about chicken, is that is so versatile! It can be grilled, baked, roasted, poached, steamed, fried, etc. The bland taste that chicken has to begin with allows it to take on many flavors, making it a perfect accompaniment to vegetables, pastas, and marinades. Adapted from a Real Simple original recipe,and one of the first in my "hard-copy" blog, this recipe is a great go to when time is limited. Plus, the ingredients are not extravagant, and you might be surprised to find how many of them you already have!

Spanish Chicken and Rice
(makes 6 servings)

Ingredients:
1 tablespoon olive oil
6 boneless, skinless chicken breasts, each cut into 3rds
salt and pepper
1 onion, sliced
1 green bell pepper, sliced
3 cloves garlic, chopped
1 cup dry white wine
1 28 ounce can diced tomatoes, including liquid
1 cup brown rice (not instant)
1 cup frozen peas
1/2 cup Spanish olives with pimiento, sliced
2 teaspoons Chili Powder (optional)
shredded cheese (optional)

Directions:
1. In a large saucepan, heat olive oil over medium heat. Add chicken and season with salt and pepper. The key here is just to get the outsides browned. 2 minutes on each side should be good. Remove and set aside.
2. Add the onion and bell pepper to the pan and cook until soft. Add garlic, and cook an additional minute. Add the wine, tomatoes and liquid, rice, sliced olives, salt and pepper. Bring to a boil, reduce heat, and simmer, covered, for 25 minutes.
3. Stir in the peas and cook for 2 minutes, or until heated through. If desired, add chili powder at this time.
4. Garnish with fresh parsley (optional) and shredded cheese and serve!

Tip: Try replacing brown rice with Spanish rice for a new twist on this recipe. Thanks to Spotted Fig fan Amy P. for sharing this idea with me!

January 3, 2011

"Urban" Salisbury Steak

One of the benefits of subscribing to multiple cooking magazines is that, occasionally, a free cookbook will arrive in the mail. Most of the time, they are filled with bland recipes that lack any sort of flare. The one that arrived the other day however, was quite the opposite! Better Homes and Garden mailed me a magazine-like cookbook that contained page after page after page of mouthwatering ideas! Clearly, there was a reason it was called "All-Time Favorites". Literally every page had something worth trying (upside to this? I didn't have to tear out any pages because I am keeping them all!)! The hardest part was deciding which one to try first...

Because I usually have a package of ground turkey in the fridge (or freezer), I settled on the Salisbury Steaks. These can be made with ground beef as well, but for a healthier version (dubbed "urban" above), I modified it a bit. Serve with a mixed greens salad, factor in the garlic, mushrooms, and tomato paste, and you have yourself a well-balanced meal that is easy enough to make on a weeknight. Consider the aroma that will have your neighbors (and/or your dog) drooling, a bonus.

"Urban" Salisbury Steaks
(makes 4 servings)

Ingredients:
1 package ground turkey
1 envelope dry onion soup mix
3 tablespoons Worcestershire sauce
2 cloves garlic, minced
Cooking spray or 1 tbs butter
2 8 ounce packages sliced, fresh mushrooms
1 cup reduced sodium chicken broth
1/4 cup dry red wine ( white wine works too - I was out of red)
1/2 6 ounce can of tomato paste

Directions:
1. In a large bowl, combine turkey, 2 tablespoons of the soup mix, and 1 tablespoon of the Worcestershire sauce. Mix well, and shape into 4 patties.
2. There are two options for browning the patties: i) use the George Foreman and grill for 4 minutes, or ii) cook patties in 2 teaspoons of olive oil in a large skillet, approx 4 minutes. If cooking in a skillet, turn once while browning, then remove from skillet and set aside.
3. Coat a large skillet with cooking spray (or melt butter), and saute the garlic for 1 minute. Add the mushrooms and cook for 5 minutes, or until tender. Add the chicken broth, wine, tomato paste, remaining soup mix, and 2 tablespoons of Worcestershire sauce. Stir, making sure to scrape the bottom for any browned bits (lots of flavor here!).
4. Place patties back into the skillet, spoon with sauce, and cover. Cook on medium-low heat for 8-10 minutes, making sure to spoon with sauce again half way through.
5. Remove from heat, and serve!

January 2, 2011

Baked Whole Red Snapper with Quinoa and Steamed Asparagus

Being that this is technically my first post, I figured that erring on the side of caution would not be the best idea. So, I went the other way. I went BIG! I've always wanted to use a whole fish when cooking, but the intimidation factor has usually presided. Today? Not the case.

The idea of baking a whole fish came to us randomly this morning while stopping at Whole Foods to fully take advantage of any Greek yogurt sales that may have been going on (sadly, there were none).The fresh fish department, however, is on the way to the refrigerated goods, so it only seemed right to stop. Great news: They had red snapper and it was even on sale. SOLD!

Baked Whole Red Snapper with Quinoa and Steamed Asparagus
(makes 4 servings - based on a 2 pound fish)

Ingredients:
1 whole red snapper, scaled and cleaned
2 lemons
3 cloves garlic, minced
2 tablespoons of butter, cut into small squares
8 sprigs fresh thyme
salt
pepper
splash of white wine

Directions:
1. Preheat oven to 350 degrees.
2. On a large baking sheet covered in foil, place two more pieces of overlapping foil, perpendicular to the baking sheet.Grease with butter and place 6 or 7 lemon slices down the middle. Set aside.
3. Double check to make sure that all scales have been removed and that the cavity is free of entrails. When purchasing your fish, ask the fishmonger to scale and clean it for you. This will save a lot of time (and mess!).
4. On a large cutting board, thinly slice the lemon. Based on the size of your fish, you may need to use half of the 2nd lemon as well. Set aside.
5. Rinse snapper under cold water.Pat dry with paper towels, including the cavity.
6. With the head of the fish on the left, make 4 diagonal cuts (top to bottom) on the body of the fish. Flip fish over, and repeat on opposite side. If you feel like you are cutting through little bones, you are! These will be used to add flavor directly into the fillets.
7. Sprinkle the cavity with salt, pepper, and some of the minced garlic. Dot with butter. Place two sprigs of thyme on top of the butter, followed by 3 or 4 lemons. Place two more sprigs of thyme on top of the lemons and then dot with butter. Close cavity.
8. Stuff the diagonal cuts loosely with minced garlic and half a thyme sprig in each one. Rub salt and pepper over the body.
9. Close cavity, and flip fish over (the head should now be on the left).
10. Place the fish on the baking sheet, on top of the lemons. Repeat step #8 and line the top of the fish with the rest of the lemon slices.
11. Squeeze the other half of the lemon juice over the fish followed by a splash of white wine. Close foil and seal.
12. Bake for 45-50 minutes.
13. 15 minutes before serving, make the quinoa according to package directions. 10 minutes before serving, steam the asparagus.
14. Remove the fish from the oven, debone and serve!


Enjoy!

xoxo

j.

January 1, 2011

Starting the year off right!

Well, it's finally happened.

The blog that was talked about for an entire year, has finally become a reality.

The idea of a food blog first came to me about 4 years ago, after settling into our new condo in Chicago. There were still a couple boxes that had yet to be unpacked, and one in particular caught my eye. Scribbled across the side in black Sharpie marker were the words "Cooking Magazines". It was like the unpacking gods had come out of nowhere and given me an excuse to flip through some light reading material! Gary (my now-fiance) couldn't say one thing about it either - I was going through them and throwing away the ones that I no longer wanted. Little did he know, that meant leafing through, page by page, and tearing out any recipe that I thought had a chance of making it onto the dinner table in the near future (read: next 10 years). Two days later, I finally  made it through the last of the magazines, and was now left with a rather large pile of loose-leaf pages waiting to find a home. And so began my new hobby: Cookbook Scrapbooking - cutting and pasting pictures and recipes from various magazines, and hand writing my own recipes to create a nice, neat presentation. That was my version of a blog back then. Unfortunately, that hard copy gets shared with very few people, given the fact that it primarily sits in my cupboard when not in  use. Now, the time has come to finally to reveal some of its content in the new and improved digital version.

So what took so long and why now? To tell you the truth, it really boiled down to finding the right name. The perfect name. One that would stand out. One that would not necessarily have a real meaning to it, but that would semi-fit the food theme. I began by jotting down two columns of words: one containing a noun related to cooking/food, the other containing a series of descriptive words to compliment it. You see, that is where I went wrong. What I was doing was entirely way to complicated and left me with 3,498,265 possible combinations. Who in the world could possibly have narrowed THAT down? Then, I began thinking outside the box. Amazing what a little creativity can do, right? And here we are. The Spotted Fig. Does it make sense? No. But who said that it really had to?

To enjoying new recipes, one day at a time.

xoxo

j.